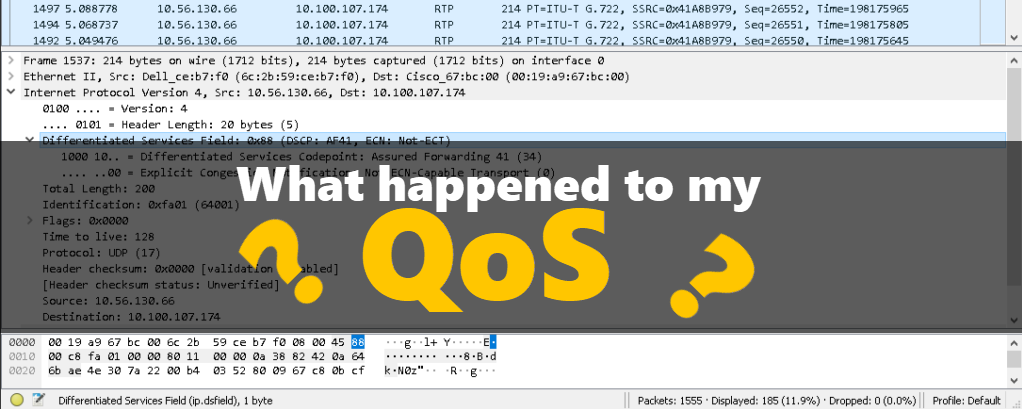
Earlier today I was asked by a coworker to assist with a new fax server. They needed a SIP trunk set up and after getting everything up and running, I recommended to him implementing a QoS policy on the server because Windows strips all QoS before sending out packets. I learned this a while back when troubleshooting issues with Cisco Jabber.
The solution is to create a quality of service group policy to the server or PC using the application.
In this example I’m going to go through setting up QoS from a Windows based PC for Cisco Jabber. This is the exact same procedure I used on a Windows Server 2016 for the fax server with the only exception being I didn’t specify the fax server application executable name, where here I will specify the jabber application executable name.
As you can see when running a packet capture without a policy in place, the DSCP value defaults to CS0 (best effort – first in, first out). This gives absolutely no priority to your voice, video, or eFax media. As we know, media is heavily dependent on QoS as too much delay in your media packets can cause calls to be uninterpretable, video to be unrecognizable, and will cause faxes to fail for seemingly no reason.
A great tool for learning about DSCP and the different values is Kevin Wallace’s video about the Fundamentals of QoS. This is where I learned the majority of what I know about QoS, so I highly recommend you check it out.
So let’s get started on setting up these QoS policies. We will need two: one for signaling, and one for media.
First, click on your Start menu and type in gpedit to open the Group Policy Editor.
Now that we have the Group Policy Editor open, on the left pane, expand Computer Configuration > Windows Settings and right-click on Policy-based QoS to select Create new policy.
Let’s give our policy a name. For this example I put in Jabber SIP QoS Policy, but you can give yours whatever makes sense for your situation. Generally we want to give SIP a DSCP value of 24, which is a CS3 value. This is a higher priority than our standard traffic, but still not as elevated as the actual media.
On the next page we are asked to determine what this policy will apply to. If your server is dedicated to only this one application, then you can just leave this at the default of All applications; however, if this is your PC and you’re running this only for an application such as Jabber, you will want to specify CiscoJabber.exe.
Now we will be asked for source and destination IP addresses. This is another way of applying specifics to the policy, but since we were specific about the application that we are elevating for, we don’t really need to do this. If we specify by IP address, and later our SIP trunk fails over to a different subscriber, then we would no longer have that QoS in place. So let’s be sure we specify by application and not by IP address.
Finally, it will ask us for protocols and ports. SIP sends in both TCP and UDP, so we want to specify both protocols there, and we know SIP is 5060 and secure SIP is 5061, so we will put 5060:5061 as our range for destination port number and then click Finish.
That was our first policy; now we need to add another policy for the RTP media. Once again, let’s right-click on Policy-based QoS and select Create new policy.
We will give a similar naming convention, noting that this is for RTP Media, and then give this a DSCP value of 34. The value of 34 is an AF41 value (or 46 / EF for voice-only RTP), which is a CS4 class value with a low drop probability. This gives elevated priority to our media, which is exactly what we want.
Once again we are going to specify the exact application name (CiscoJabber.exe).
The same as before, we will go with Any source and Any destination IP addresses.
Now this time we will have a different selection. Since RTP exclusively sends over UDP because real-time transmissions can’t be dependent on retransmission delays, we will select only UDP. We can’t be as specific on the port because RTP picks within a range at random, so we will specify all RTP ports between 16384 and 32767 (16384:32767).
Now we can see that we have our policies in place in the Group Policy Editor summary:
| Policy Name | DSCP Value | Application | Protocol | Destination Port Range |
|---|---|---|---|---|
| Jabber SIP QoS Policy | 24 (CS3) |
CiscoJabber.exe |
TCP and UDP | 5060:5061 |
| Jabber RTP Media QoS Policy | 34 (AF41) |
CiscoJabber.exe |
UDP | 16384:32767 |
When inspecting a new packet capture after applying the policy, our DSCP information in the IPv4 header now shows the CS3 value for SIP signaling traffic and AF41 for RTP media traffic, exactly like we want.
It’s always a good idea as a Collaboration Engineer to keep QoS in mind. Ideally we would have such a huge network pipe that we would never have to worry about it, and I’m sure someday we might get there. But in the meantime, let’s stay ahead of the curve and rather than waiting for issues to occur, be proactive in applying QoS to avoid quality issues.
I hope this has been helpful!

Jaron Davis
Unified Communications Architect specializing in enterprise Zoom, Microsoft Teams, Cisco UC modernization, SIP/VoIP infrastructure, and systems architecture.